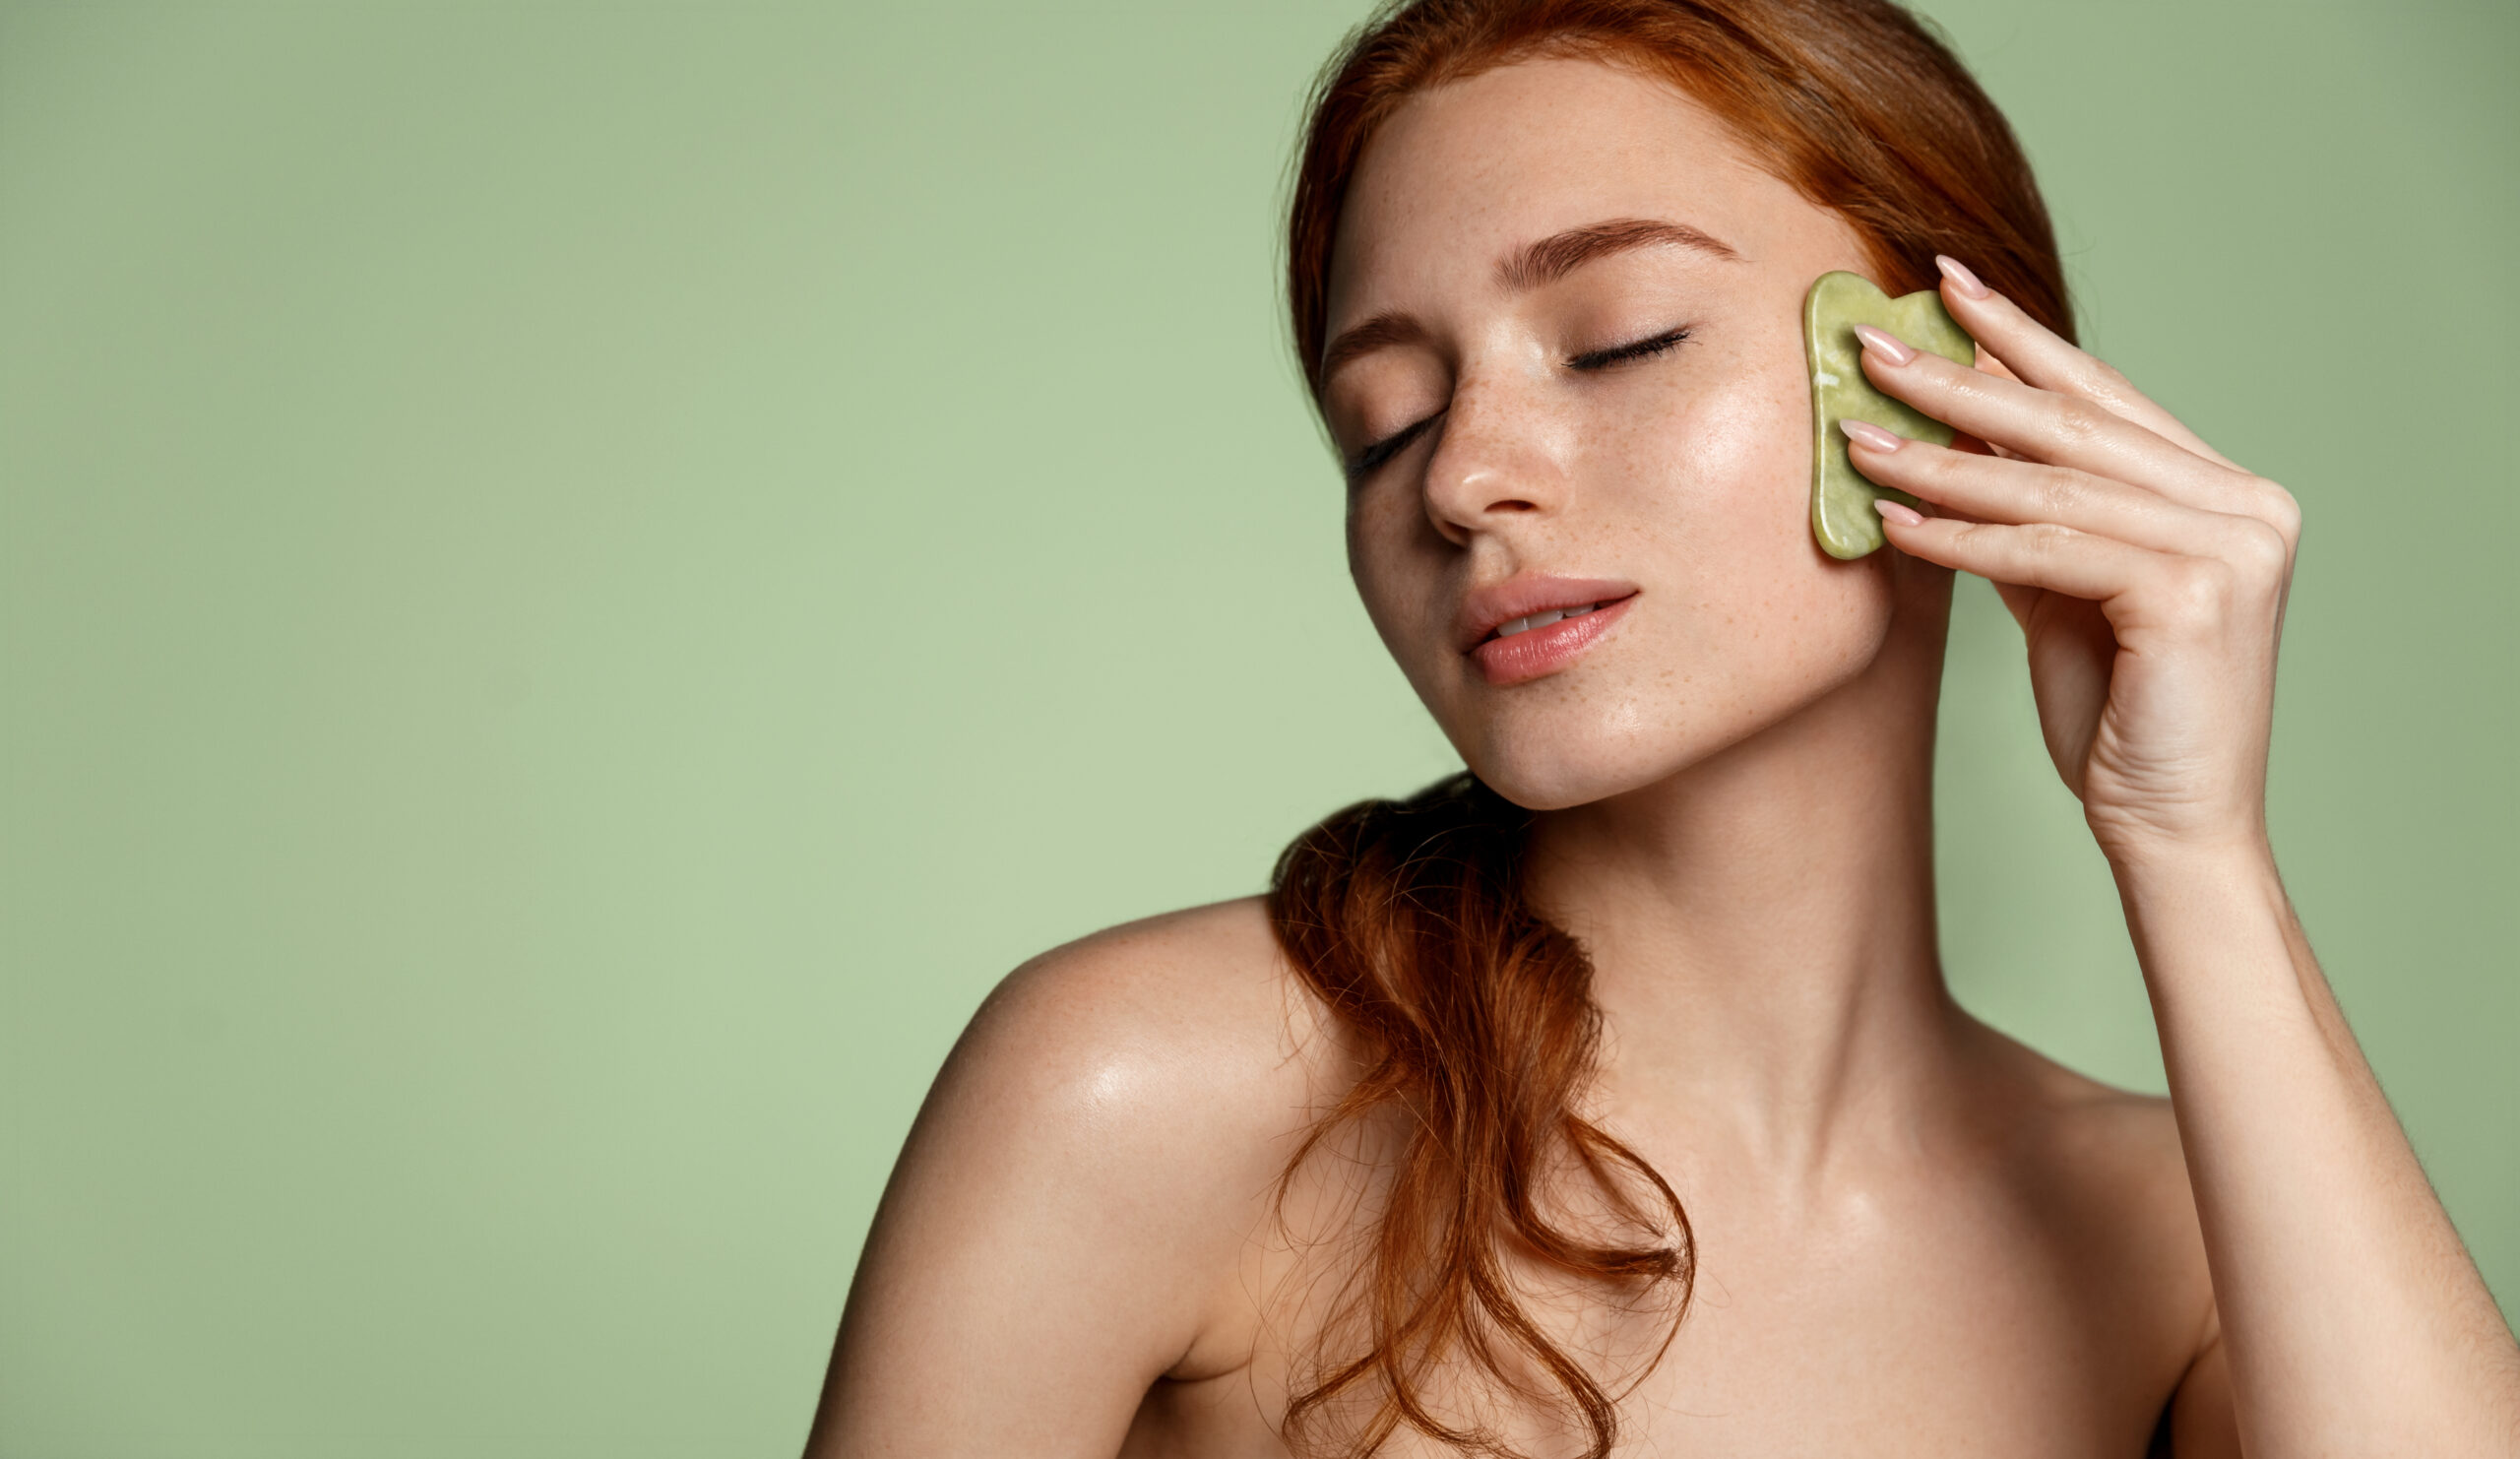
You probably have seen it on some form of social media – women rolling odd shaped jade tools over their faces. This practice of gua sha is centuries old, but it has resurfaces as a way to decrease puffiness and act as a “natural botox”.
But is it really that magical? Here is what you need to know and my experience. As an initial reaction, I found that a regular gua sha practice was so much more than skincare. It helped relieve tension in my jaw, forehead, and sinus pressure. So read on if you have any of these issues especially at your job! This is now part of my daily routine – rise, wash face, coffee, lemon water, meditate, and gua sha. By the end of this five minute routine, I feel like a million bucks and ready to face the world!

What is “Gua Sha’?
Gua Sha, which means “scraping” in Chinese, is a traditional Chinese medicine technique that involves using a tool to scrape the skin in order to improve circulation and promote healing. Although Gua Sha is a Chinese technique, it has been used in Japan for centuries.
In Japan, Gua Sha is known as “kashin” and has been used as a form of therapy to treat a variety of ailments. Kashin was used by the samurai to relieve muscle tension and improve circulation after a long day of training. Kashin was also used by geishas to improve their skin and complexion.
Over time, kashin has become a popular beauty treatment in Japan. Today, it is commonly used as a facial massage tool to help improve circulation, reduce puffiness, and promote a more youthful appearance.
Where can you get it?
These cloud-shaped tools are everywhere and anywhere – Amazon, Sephora, Ulta Beauty – anywhere that sells beauty products, or specialty sites, like Skin Gym.
You may have also seen the jade or quartz rollers – those serve a similar purpose, but the gua sha is more targeted.
One of the most popular and well-lnown gua sha tools in the US marketplace is the Mount Lai Jade Gua Sha tool. You can find tools made of jade, quarts, obsidian, and stainless steel. A quick demo with the Mount Lai tool is here (and I have more detailed ones below):
You can find some recommendations on Gua Sha tools on these sites:
Personally, I bought this less than 20 dollar stainless steel one on Amazon. As this article explains, stainless steel may work better on skin. Plus if you are super clumsy like me and tend to drop your phone and other things, this one won’t break as easily as the Jade or Quartz, which are prettier for the ‘gram.
Gua Sha in the Western World
In recent years, Gua Sha has become increasingly popular in the Western world as a beauty tool. Many beauty brands have started to create their own Gua Sha tools, and there are countless tutorials and guides on how to use them.
You may have also experienced Gua Sha at a spa or in your physical therapists’ office, as this tool, like cupping, is often used to stimulate blood flow to blocked nerves in areas like the neck.
Gua Sha has been adapted to fit the Western world’s beauty standards and is now being used as a way to contour and sculpt the face. Many people claim that Gua Sha can help reduce the appearance of wrinkles, lift and firm the skin, and even improve the appearance of dark circles and under-eye bags.

Benefits of Gua Sha
There are many benefits to using a Gua Sha tool. Here are just a few:
- Improved Circulation: Gua Sha can help improve circulation in the skin, which can help reduce inflammation and promote healing.
- Reduced Puffiness: By improving circulation and lymphatic drainage, Gua Sha can help reduce puffiness and swelling in the face.
- Improved Skin Texture: Gua Sha can help promote the production of collagen and elastin, which can help improve the texture and firmness of the skin.
- Relaxation: Gua Sha can be a relaxing and soothing experience, helping to reduce stress and tension in the face and neck muscles.
There are also many claims that using gua sha regularly can lead to more sculpted cheekbones and jawlines. After a few weeks of consistent practice, I am definitely noticing a lift, despite my skepticism that this was tik-tok folklore. However, the most benefit for me is less tension in my jaw and my temples, as well as less of a heavy feeling under my eyes.
How to Use Gua Sha:
Some useful how-to guide links follow, plus a summary of the steps. Note not every technique is identical. Not everyone starts in the same place. The basic steps are pretty universal, though, so just watch a few and see what works and feels the most natural for you (subject to the dos and dont’s below). It takes a couple of times to feel natural but when you get the hang of it it is as natural as just putting face cream on.
Here is a step-by-step guide on how to use a Gua Sha, with some video tutorials and resources at the end:
- Start with a clean face. Apply a few drops of your favorite facial oil or serum to your skin. This part is key, because you don’t want to scrape dry skin!
- Hold the Gua Sha tool with the curved side against your skin. Start at the base of your neck and scrape upwards towards the jawline.
- Move up to the chin and scrape outwards towards the ears.
- Scrape from the corners of your mouth towards your ears, where the lymph nodes are located.
- Scrape from the eyebrows up to the hairline.
- Finally, gently scrape from the forehead up towards the hairline.
Repeat each stroke 5-10 times, and make sure to use gentle pressure. You don’t want to press too hard and cause any discomfort or irritation.
For extra massage, at the end of each stroke, give a little “wiggle” – this is demoed in the videos I enclosed. This helps releve tension in key areas like the temples and the jaw joint.
Gua Sha Dos and Don’ts
DO clean your tool. To clean your gua sha tool, just run it under water. For more techniques, Brindle has various videos on her personal Instagram and the Hayo’u Method account to help you gua sha properly.
DO WASH YOUR FACE FIRST
As explained in this article, you should wash your face first and then do the rest of your beauty routine afterwards.
DO HAVE A SLICK SURFACE
Most gua sha guides recommend a good facial oil – and some even come with a type of oil. For this purpose, you can even use coconut oil! If you are worried about your face being oily, you should if you have done it correctly have massaged most of the oil in. Or, you can use a simple moisturizer, like Cetaphil, if you do have a lot of skin oiliness issues.
DO START FLAT AGAINST YOUR FACE
You want to think of the gua sha like a butter knife – start flat and then lightly lift at a 45 degree angle. Pressing down directly on the edge will yield too much pressure, which leads to the first “don’t” below.

DO GO OUTWARDS AND UPWARDS (DON’T ZIG ZAG)
For the most part, the gua sha motion is about lifting and scultping, so you want to go against gravity. When you are doing large areas like the forhead, start at the center, go up and go out. The same for the neck and jawline.
DON’T PRESS REALLY HARD OR SCRAPE TOO MANY TIMES.
This is a rookie mistake I made when I used gua sha the first time. Let’s just say I had to wear turtlenecks for a few days! In this case, less is definitely more and with the delicate skin of the face and neck, you definitely want to be careful. If you ever have been to a physical therapist where they use a scraping tool, you may have also noticed some redness, but this is a different, professional setting and usually this is done on othe larger parts of the body like the back. It has effects similar to cupping, which is essentially raising blood to areas of stagnation and poor circulation to released tensed muscles (which is why you see those huge dark circles on people who get cupping – this is going to be another post!)
DON’T GUA SHA THE DAY OF AN IMPORTANT EVENT
It is very easy to get too eager beaver with the gua sha, even if you take the precautions of not pressing too hard or scraping. Even if you have apppropriate pressure, your skin could have a lot of repressed blood stagnation which may quickly rise with the use of the tool and produce temporary redness and bruising. So if you do have an important event like a filming or wedding, definitely use the gua sha at least a few days out, especially if you are a beginner!
DON’T USE IT IF YOU HAVE HAD OTHER RECENT SKIN TREATMENTS
Especially like Botox or Fillers – that stuff is supposed to have at least a few weeks to months to settle so talk to your dermatologist first!
DO TALK TO YOUR DOCTOR IF YOU HAVE CERTAIN CONDITIONS
Like being pregnant, having chronic acne or rosacea, or other head/neck injuries, or if you have any concern. As always, the content on this blog is for entertainment value only!


